Showing posts with label upcycling. Show all posts

Upcycled trinket holder diy


I have been on the look out for a trinket holder for a while now, but have had no luck in finding one that I like and can afford. So I decided to make my own one out of things that I already have at home. After a dig around in my recycling and craft supplies I found some items I thought I could use. Above is the result! A completely upcycled trinket holder.

If you would like to have a go making your own one this is what you will need: 


All you need to make a trinket holder is: 

3x same size jar lids (I used lids from pasta sauce jars), a cotton spool, a marble or a bead, a glue gun and spray paint. If you would like to have patterned paper on the inside of your lids you will also need paper, craft glue and scissors.


    How to make it:

    • Clean jar lids and dry.
    • Position lids together in a triangle shape and using a glue gun, glue the edges where the lids meet.
    • Glue the end of the cotton spool to the center of where the lids come together
    • Then glue the marble/bead on top of the cotton spool
    • Take the trinket holder outside or to a well ventilated room and spray paint it ensuring even coverage. It may need 2-3 coats of paint, let it dry in between coats.
    • Once dry you can either leave the trinket holder as it is or insert patterned paper to the inside of the lids for added colour. To make paper circles just find an item with a circular bottom (that is the same size) and use it as a template to draw circles on to your paper. Cut the circles out and glue to the inside of the lids. If you want to add a glossy effect to the paper when its inside the lids coat it with modge podge (or 50% pva glue mixed with 50% water). 

    I hope you have enjoyed my trinket diy, let me know in the comments section below what you thought.

    How to turn a plastic bottle into a plant pot


    Do you like to put your plants in nice pots, but can't find anything you like in the shops? You could have everything you need to make the perfect pot at home, for free! With just a plastic bottle and some scrap fabric you can make some lovely, totally unique plant pots. I will show you how with this easy DIY.


    All you will need is:
    • A plastic bottle. One that is wide enough at the bottom for your plant to go in and has a smooth surface.
    • A small plant.
    • Enough fabric to cover your pot (thin or medium weight fabrics work best). I used some fabric from a previous upcycling project and a bandana.
    • Scissors.
    • Glue (I used Modge Podge but you can use 50% pva glue and 50% water, which is basically the same).
    • A paint brush or sponge.

    1. Start off with preparing your plastic bottle. Wash, dry and remove any labeling.
    2. Measure from the bottom up how tall you want your pot to be (using the size of the plants original pot as a guide). Then mark around the bottle with pen or with washi tape where you will need to cut. Cut around the markings on the bottle. You should be left with the bottom part of the bottle which can now be used as a pot. Measure your fabric and cut out, making sure you have enough to fold over the top (approx 1-2 cm's) and cover the bottom.
    3. Apply glue to the outside of the pot.
    4. Cover the pot with the fabric, smoothing it over as you go.
    5. Glue down the top edge. 
    6. Then glue down the fabric to the bottom of the pot. Depending on the type of finish you want you can either leave it as it is now or if you would like a shiner finish apply a coat of modge podge to the outside.


    So that is how you can make a plant pot from just a plastic bottle and some fabric. Hope you enjoyed this DIY, I would love to hear your thoughts about it in the comments section below.

    Makeover a notice board 3 ways.

    Do you want to turn your notice board into a gorgeous office accessory? Would you love somewhere attractive to display your notes, inspirations and keepsakes? Using a notice board that I got from the Post Office's online shop, I will show you how. The techniques I will use in the makeovers include; applying paper, using stencils and covering with fabric. Lets start off with the easiest and by far the quickest way you can transform a notice board, which is by using paper.


    Paper


    I gave this notice board above a makeover using glitter gift wrapping paper and it took me approximately 15 minutes to do! It has to be one of the quickest ways you can transform a notice board and it is so simple to do.


    You will need:

    notice board, paper (big enough size to cover your whole board), glue and scissors. 

    • Cut your paper to size. Cut the paper to the exact same size of the cork part of the board or if your noticeboard has a slight gap between the frame and cork part like the one I used, you can measure and cut the paper a few millimetres larger all round so it overlaps slightly onto the wood frame (this will be tucked into the gap at the next stage).
    • Apply a small amount of glue along the back edges of the paper (tuck in the gap if applicable then) adhere to the board. 
    That's it! Really quick and easy. If you don't have a large piece of paper, why not try using smaller pieces of paper overlapped in similar or contrasting colours. Just remember when choosing your paper that pin holes may be visible when you take the pins out.

    The best bit about this type of makeover is that it is very easy to change if you want a different colour scheme etc. 

    Stencilling


    You can turn your notice board into a piece of art using stencils. Making patterns using paint and stencils can really brighten up your board and make it a focal point in your room. You can make your own stencil templates like I did or buy them online or from your local home decorating store.    


    You will need: 

    notice board, a stencil, paint (avoid watery paints as they can seep under the edges of the stencil), a stencil brush or sponge and some tape to hold the stencil in place.


    • Before you start painting with the stencils try and have a rough idea of how you want the stencil patterns to be arranged. 
    • When you have decided on how you want the layout of your stencil patterns place your stencil flat onto the board in the desired position. Secure in place with some masking/washi tape.
    • Using a stencil brush or sponge apply the paint all over the cut out parts of the stencil. Apply the paint quite thinly so it doesn't seep under the stencil.
    • Repeat the last step for each place you want a stencil shape to be painted until you are finished and allow to dry.
    If you are planning on overlapping your stencil patterns you will need to allow the first layer of paint to dry first before applying a second layer of paint on top, so smudging doesn't occur. Also remember, if you are using different colours of paint to clean and dry brushes/sponges thoroughly in between.

    Fabric 

    Finally the third option, and probably the most popular way to makeover a board, especially amongst diy fans and craft enthusiasts. This option is to cover the notice board in fabric. I love the way the fabric softens the look of the board.


    You will need: 

    notice board, enough fabric to cover your board and adhere to the back, wadding (note that thick wadding will make pushing pins into the board difficult, so go for a type that is thinner and light weight), scissors and glue (or staple gun if you have one).


    • Start buy cutting the wadding so it is the same size as your notice board.
    • Glue along the front of the wooden frames edge and stick down the wadding. You can glue the wadding to the center of the board to if you want it to be extra secure.


    • Iron you fabric if it is creased. Then measure and cut it so that it is a few of inches larger each side than the notice board. The fabric needs to be a bit larger than the board so that its edges can be glued to the back of the board.


    • Finally. lay the fabric pattern side down on to a flat surface. Place the notice board centrally on top of the fabric front down so that the wadding is sandwiched in between the fabric and the board. 
    • Fold over one side of the fabrics edge to the back of the board and glue down. I folded the fabrics long edge twice to give it a neat finish in case I wanted to use the felt back on the board I have. The edges don't really need to be folded over twice and glued neatly if no one is going to see it though so don't worry about it looking perfect. 
    • Stick down the rest of the fabrics sides. In between gluing each of the sides turn the board over so you can see the front and check if the fabric is still laying flat. In order for the fabric to lay smooth across the board it will need to be adjusted and pulled slightly over the edges as you go.
    • Allow the glue to dry then hang the notice board up.

    I would love to know if you use any of these techniques to makeover a notice board and how you get on.


    DIY money (post) box


    You know you are a big snail mail fan when even Bisto gravy tubs appear to you as post boxes! I had the idea to turn a Bisto gravy granules tub into a post (money) box and this is how it turned out. 

    Why a post box you ask? Well, I love sending letters just as much as receiving them and enjoy my trips to the post box. Sending the letters, notes and little parcels that I have enthusiastically put together, on their adventure to a person who is either waiting for them or will be surprised to get them (and hopefully have their day brightened a little) gives me such a happy and contented feeling. For me, it never gets boring to go and post a letter into one of those big regally red post boxes. I am still filled with amazement that letters manage to get to their right destinations at all, especially so quickly. 

    So, I usually walk away (trying not to skip) from posting a letter into a post box with a big smile on my face. Having a smaller version of my own at home just made sense (just me?). A Bisto gravy tub seemed like the perfect thing to use to recreate a mini post box with it's shape and lid the perfect colour. 


    I intended to make the post box into a money box, as I am always trying to save for something. I debated for a while whether to have the lid as the opening where the money would go in or to make an aperture just like a real post box where the letters (in this case money) usually go. I decided to go for the latter.

    I know the detail proportions on my little post box are not exactly to scale, but it is just a bit of fun. If you would like to make one of your own you will need:
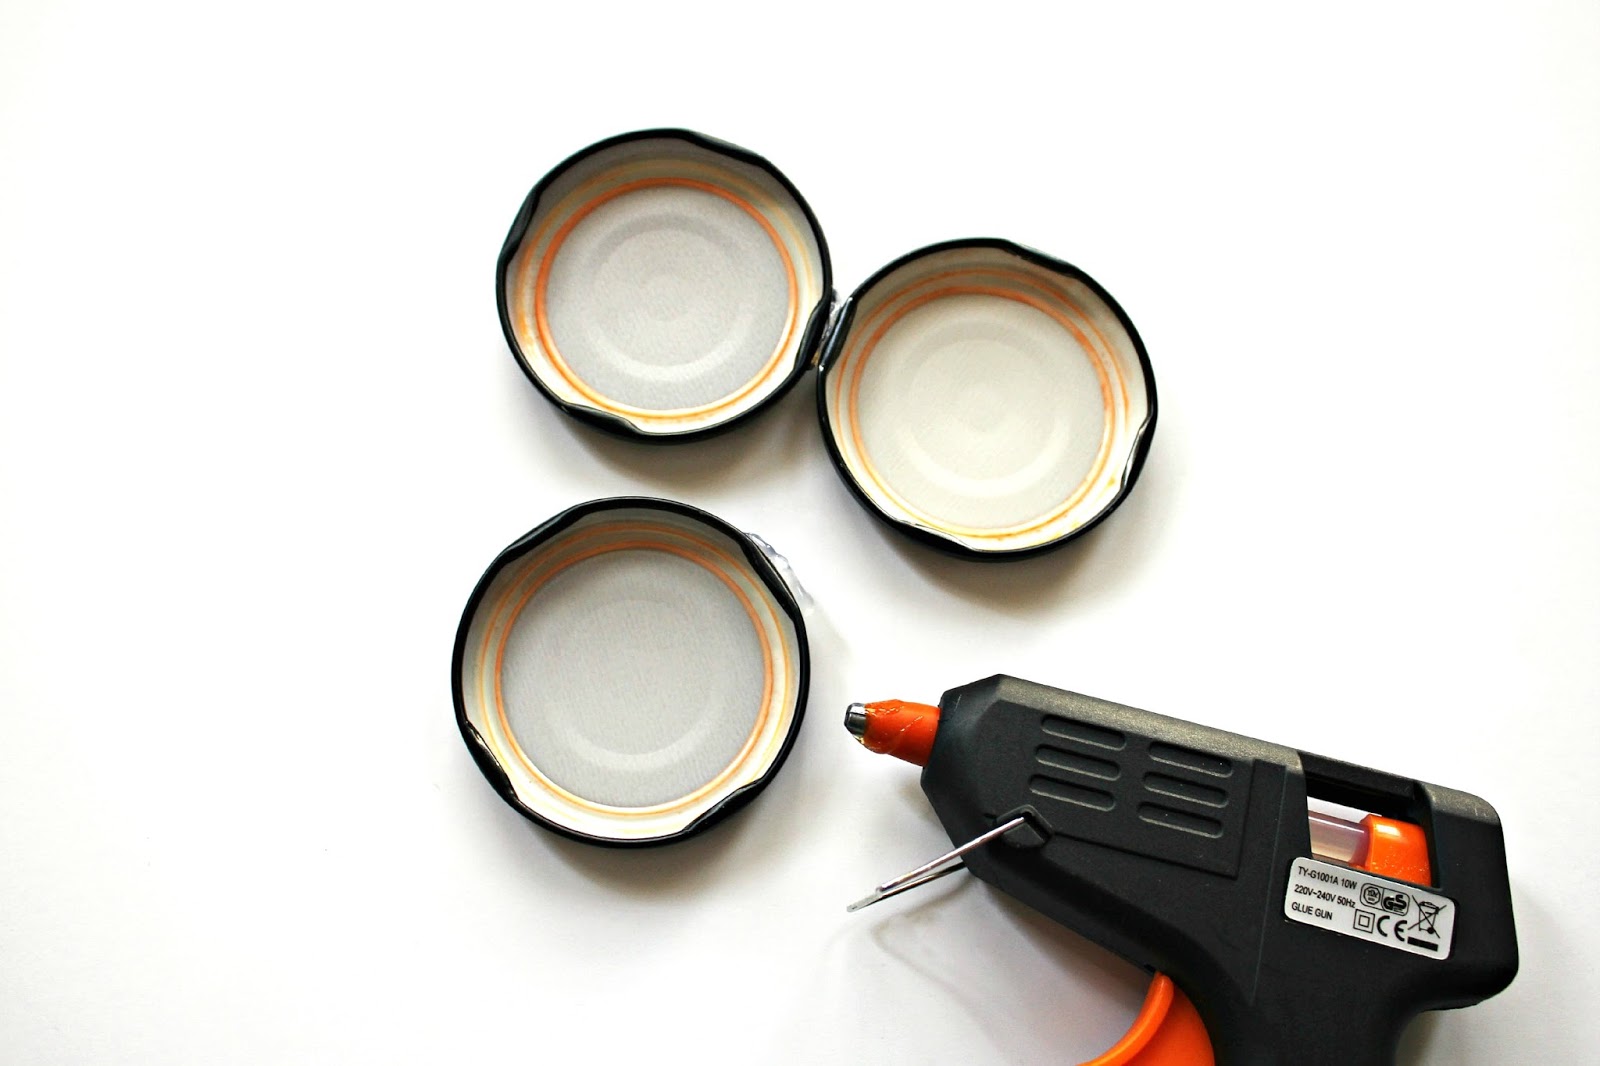
    • An empty Bisto gravy tub/ or similar size tub (As they are cardboard be careful not to get them to wet when cleaning the inside. I suggest using a slightly damp sponge/cloth or wet wipe)
    • Red card
    • White paper
    • Scissors
    • Craft knife
    • A pencil, black biro pen, white pen/pencil and a marker pen
    • PVA glue and glue stick

    This is how I made it.
    1. Mark on you red card the width and height of the tub. Then cut out using scissors.
    2. Draw the letter box opening onto the card and cut out opening. Then wrap the card around the tub again and mark out the opening onto that.
    3. Using a craft knife cut out the letter box opening. Tip: If you do not have a craft knife or would prefer not to cut an opening, still draw the small rectangle. Instead of cutting the rectangle out though, colour it in black with a marker pen. Just remove the lid when you want to put money in or out.
    4. Draw post box details onto the red card. Use a small rectangle of white paper for the post box collection time details. Write on and then stick the paper onto the red card using a glue stick. As its difficult to write that small you may just want to doodle instead of writing word for word or use my cheat option below instead. 
    5. Glue the finished card onto the tub using PVA glue, matching up the letterbox openings
    6. Place the lid on top and start saving!

    Cheat option: If you don't like drawing why not use a picture off the internet. I confess, I found it tricky writing really small for the collection time info (the white rectangle) so instead I used a photo. I just searched Google images for a post box image and scaled it down to the size I wanted then I printed it off. I then cut out the bit I wanted to use. I realised though, I could have used an image for the whole door of the post box. So if you want to recreate this money box my time saving tip would be to find a good quality, straight and face on image of a post box. Scale to size when printing off (this may take a few tries) and then cut out the door section of the picture. Then all you will need to do is stick the image onto the red card that you have measured and cut out and draw the black rim along the bottom with a marker to give it a 3D effect.

    So how is my saving going? Erm... well money wise not great, but note wise fantastic! It turns out my children really LOVE the post (money) box, they are also big mail fans. They haven't stopped playing with it and have been posting lots of little notes for me inside. It didn't occur to me that it would be something children would like (duh!), so I am happy that it has a multi-purpose use now. My lovely surprise notes certainly make up for the lack of savings!

    Mail art kit in the post


    When my penpal wrote in her last letter that she struggled to find nice writing paper I totally empathised. I've also found that nice, reasonably priced writing paper is hard to come by. I started to look at ways I could create and decorate my own writing paper instead. I found so much inspiration online through Pinterest (see my mail art board here) and Instagram so quickly started to make my own. I thought I would share with my penpal the ideas and inspiration I have picked up and put together a little mail art kit to brighten up her mail.


    Included in the kit I made were; stickers, twine, magazine cutouts, some diy stamps with blanks to make up (see my how-to here), washi tape, bunting and some extras (paper clips/ tags/ washi flags).


    My favourite packet I included in the kit was the magazine cutouts. Above is what I included inside. I like to create mail art using drawings but it can be very time consuming. I think you can create results just as nice using magazine cutouts. There are lots of lovely pictures in magazines. It's so simple, just cut out a picture you like, position and glue it to your writing paper or envelope. Below is an example of what I make.


    With the mail art kit I also put in some suggestions (see below) for decorating mail. I often draw things instead of writing them down. Am I the only one who does that?


    So there we have it, a diy mail art kit. Hope you've enjoyed reading.

    Upcycled: How to turn a woman's top into a cushion


    I love bright and bold colour home furnishings. I have been on the look out for some bohemian style cushions but haven't been able to find anything I like. I frequently come across women's boho style tunics/tops in my local charity shops though so I thought I would buy some to make my own cushions. I have made a couple so far and this is how I have done it.

    Instructions for making a cushion cover out of a top
    The instructions below are how to make a cushion cover with an envelope opening at the back.


    1) First measure the cushion you want to cover.

    2) I made a sewing pattern out of paper using the measurements (I find it easier than drawing straight onto the fabric and as I often use the same size cushions having the pattern saves me measuring up each time). I added an extra 1cm width all round the pattern pieces for the seam allowance. As the cushions I use are square it is the same width and hight. To make a cushion with an envelope back you will need three pieces altogether; the front (square) piece and two back pieces (about two thirds the length of the square front piece) pieces.

    3) On the front side of your top draw around the square template and cut it out.

    4) Then draw around the other pattern pieces onto the back of your top and cut them out.  
    5) Sew a hem along one long side of each of the back pieces (the long sides that will make the envelope opening).

    4) Lay the front square piece right (patterned) side up and place one of the back panels right side down along the top edge and sew along the top and side edges. Then lay the last back panel right side onto the bottom edge (the back panels should overlap) and sew along the bottom and sides. Then turn the cover right side out and place your cushion filling inside using the envelope opening. That's it, all finished. 
     

    Upcycle a shower curtain four ways


    I set myself a challenge to upcycle a shower curtain that I didn't really need. Initially I thought I could probably make one or two things but was actually surprised with how many possibilities there were. So far I have made four things; a make up bag, a kids apron, a drawstring bag and a suit bag but I still have about a metre square of curtain left. Any suggestions are very welcome for what else I could make. I am thinking maybe an apron for myself or a tablecloth for my little table.

    Here are a couple of links to good sewing tutorials that have lots of helpful photos; over on danamadeit.com is the nice tutorial I used for the make up case and I followed this helpful tutorial by kittybabylove.com for the drawstring bag. The suit bag and kids apron were improvised.