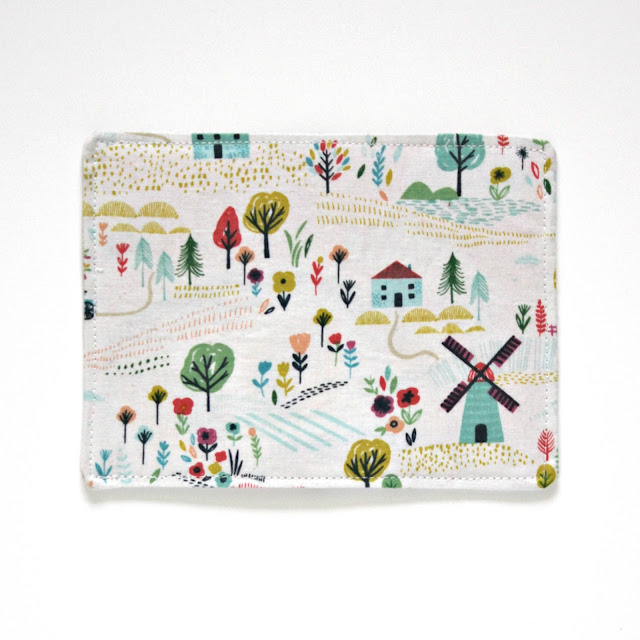
It is no secret that I am a huge snail mail fan and I’m always on the look out for ways to make my mail unique. A while back I had the idea to make postcards out of fabric which could be sent and the receiver could keep as keepsakes. I knew exactly how I was going to do it. Being able to choose fabrics from the Sew Crafty shop as a part of the Sew Crafty Design Team made it so much more exciting, they have such a gorgeous selection to pick from. I chose some lovely fabrics that I think make nice postcard fronts. Here is how I went about making the fabric postcards:
You will need:
- White fabric for the back (writing side)
- Patterned fabric. I made a few postcards using different fabrics from the Dashwood Sweet Escape range, Dashwood Confetti range and Sealed with a Kiss Envelopes fabric
- Embroidery thread
- Card (I used a cereal box)
- Scissors/rotary fabric cutter
- Pins
- Chalk or vanishing pen
- Pinking shears
- Clear flexible plastic (I used plastic from a travel card holder)
- Sewing machine
Step 1.
Cut out 2 rectangles 19 cm’s by 15 cm’s (approx 7.5 inches x 6 inches): one in white fabric for the writing side and another one in a patterned fabric.Step 2.
On the white fabric rectangle draw out your written message and postcard lines with chalk or a fabric pen with erasable ink. Then using embroidery thread (dark colours like black work best) sew on top of what you have drawn using a running stitch or backstitch.
Not a fan of embroidery? Why not use a fabric pen instead. I did this for the address below. A pen for labelling works as it is permanent. I already had a pen but there are a variety of pens available.
Step 3.
The next step is the stamp.
Option A.
Stamps out of fabric. Cut a small rectangle out of white fabric (cotton, felt or leather. I used leftover interfacing!). Then use pinking shears to cut a zig zag shape around the four edges. Cut a smaller rectangle out of patterned fabric. Then sew the smaller patterned fabric on top of the white zig zagged rectangle. Finally, sew the stamp to the right corner of the writing side of the postcard leaving a margin for when the postcard is sewn together.
Stamps out of fabric. Cut a small rectangle out of white fabric (cotton, felt or leather. I used leftover interfacing!). Then use pinking shears to cut a zig zag shape around the four edges. Cut a smaller rectangle out of patterned fabric. Then sew the smaller patterned fabric on top of the white zig zagged rectangle. Finally, sew the stamp to the right corner of the writing side of the postcard leaving a margin for when the postcard is sewn together.
Option B.
This option is if you would like to actually send your fabric postcard through the mail. Simply sew a rectangle piece of flexible clear plastic (such as that from an old travel card wallet) to the right hand corner of the white (writing side) fabric.
When sewing on your plastic leave a margin for when the front and back fabrics are sewn together.
Step 4.
Place your 2 rectangles of fabric right sides together and pin in place. Then sew along three sides (1cm from edge), leaving one short side open.
Trim the corners and turn the postcard the right way round.
Step 5.
Put your piece of card inside and fold in the open edges. Iron the folds (don’t use steam as this will make the card inside soggy) and pin together. You can invisible stitch the opening closed or sew it closed with a sewing machine in the final step, where you sew all around the edges.
Step 6.
Finally, sew around all four sides approximately half a centimetre from the outer edge.
Here is how the fronts of the postcards looked above. The pink one is actually a pouch.
Here are the backs of the postcards showing the two different types of stamps.
Pouch option:
If you would like to send a secret letter in your postcard you can turn it into a pouch. You can do this by sewing a zip either at the side or along the top.
For the pouch above I sewed the zip along the top edges of the fabric then sewed together the remaining three sides (right sides together) using a 1cm margin. I then turned it the right way around and gave it a quick press with an iron. Put a piece of card inside for stability if it is to flimsy. You could keep it as a pouch for yourself and not send it at all if you wanted. Would be great for storing letters or pens.
Would you like a fabric postcard in the mail? Would love to know your thoughts in the comments section below.


This is so awesome! Postcards have always been my first love. I have received wooden postcards and metal postcards in the past but receiving these fabric postcards will be amazing! Making them myself and sending them to my penpals will be super fun too!
ReplyDeleteThanks for the tutorial.
Delete